
BlogBackcountryBackpacking 101: How To Plan For Your Trip
Backpacking 101: How To Plan For Your Trip
Table of contents

Kelsey Krahn
Apr 19, 2022
Kelsey hated hiking when she was a kid. Her parents would always force her to venture up mountains with them, and she would always complain about how pointless it was to wind along a path to a "stupid view." But now, you can find Kelsey happily weaving to a collage of stunning views cloaking mountains across the globe!
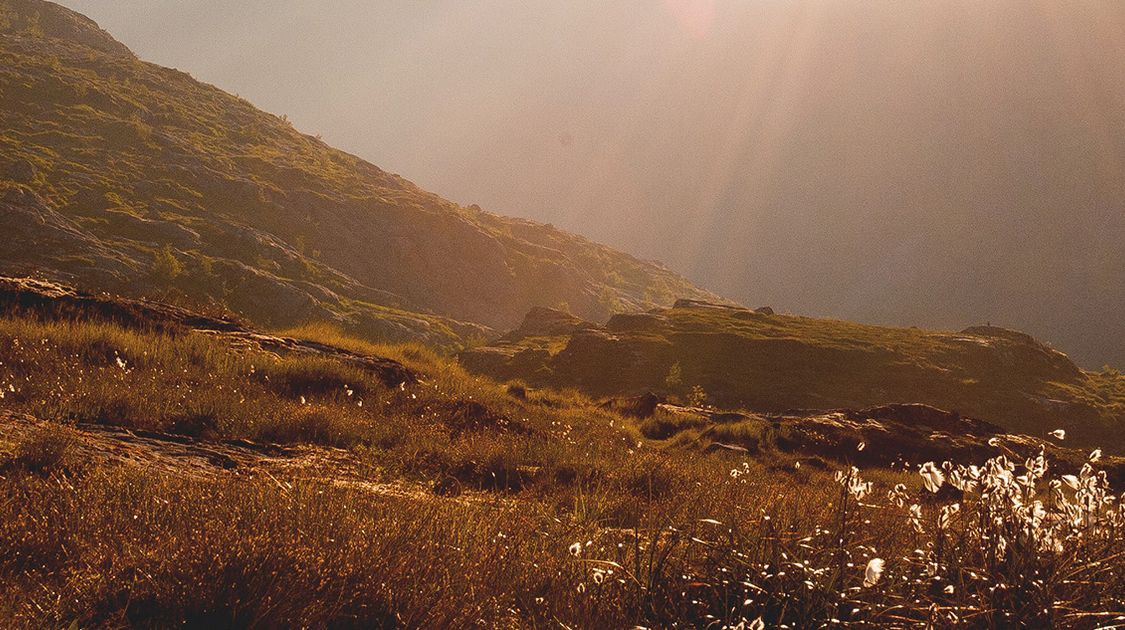
There's something magical about the whispers of the woods when the stars colour the sky, a crackling fire propels late-night stories, and the trees house and hide wildlife from the naked eye. The feeling of escapism generates a lust for adventure—and one of the best ways to travel deep into the wild is to hike into the backcountry. This article shares how to plan for your first backcountry trip. Some questions you might have are:
- What should I pack?
- What can I eat?
- What's the best gear?
- What about going to the bathroom?
- Where should I go?
We hope this article will help replace the "scary" of venturing into the unknown with excitement and a feeling of preparedness!
Choose your backpacking destination
How to choose your backpacking destination
We advise that your first backpacking trip considers your physical fitness. However, no matter the length, your initial backcountry adventure will get your heart rate up. It can take some time to adjust to the weight of your backpack!
Some examples of first backpacking trips (in Alberta, Canada) might be:
- Glacier Lake Backpacking Trail in Banff National Park: 17.0 km, 210 m, 1 night, out-and-back
- Tombstone Lakes Backpacking Trail in Kananaskis: 18.8 km, 599 m, 1-2 nights, out-and-back
- Saturday Night Lake Loop Backpacking Trail in Jasper National Park: 23.8 km, 816 m, 1 night
Find sample itineraries for backpacking trails across Canada and the US via the links provided!
How to prepare and book your first backpacking trip
This is a loaded question, but it's a necessary one! So first things first: choose your route with your fitness level in mind.
Next, draw up a sample itinerary. Please take note of the designated campsites en route, and then book them! If you're booking a national park in Canada, head to their designated Parks Canada website to make your reservation—it helps to know which campsites you need to book before heading here. Provincial parks will have a different website for reserving campsites. And then, wilderness areas may allow for free, wild camping.
Take a look at our sample itinerary for the Lake Minnewanka Backpacking Trail in Banff National Park (24.6 km, 700 m, 1-2 nights):
Day 1: Lake Minnewanka Parking Lot to Aylmer Canyon (LM9) campground (9.5 km, 190 m)
Day 2: Hike to Aylmer Lookout (12.0 km, 560 m). Add another 6.5 km and 400 m of elevation gain to also hit Aylmer Pass on the day.
Day 3: Hike back the way you came (9.5 km, 190 m)
Now, with this information, head to the Parks Canada website, click backcountry camping, and, for this particular route, click the availability calendar options, then select Banff, Yoho, and Kootenay Backcountry under "Pick Your Park and Backpacking Experience." Check if the campsites listed in your itinerary are available to book when you want to go. You might need to check out a few itineraries, especially if you're reserving a little later into the season.
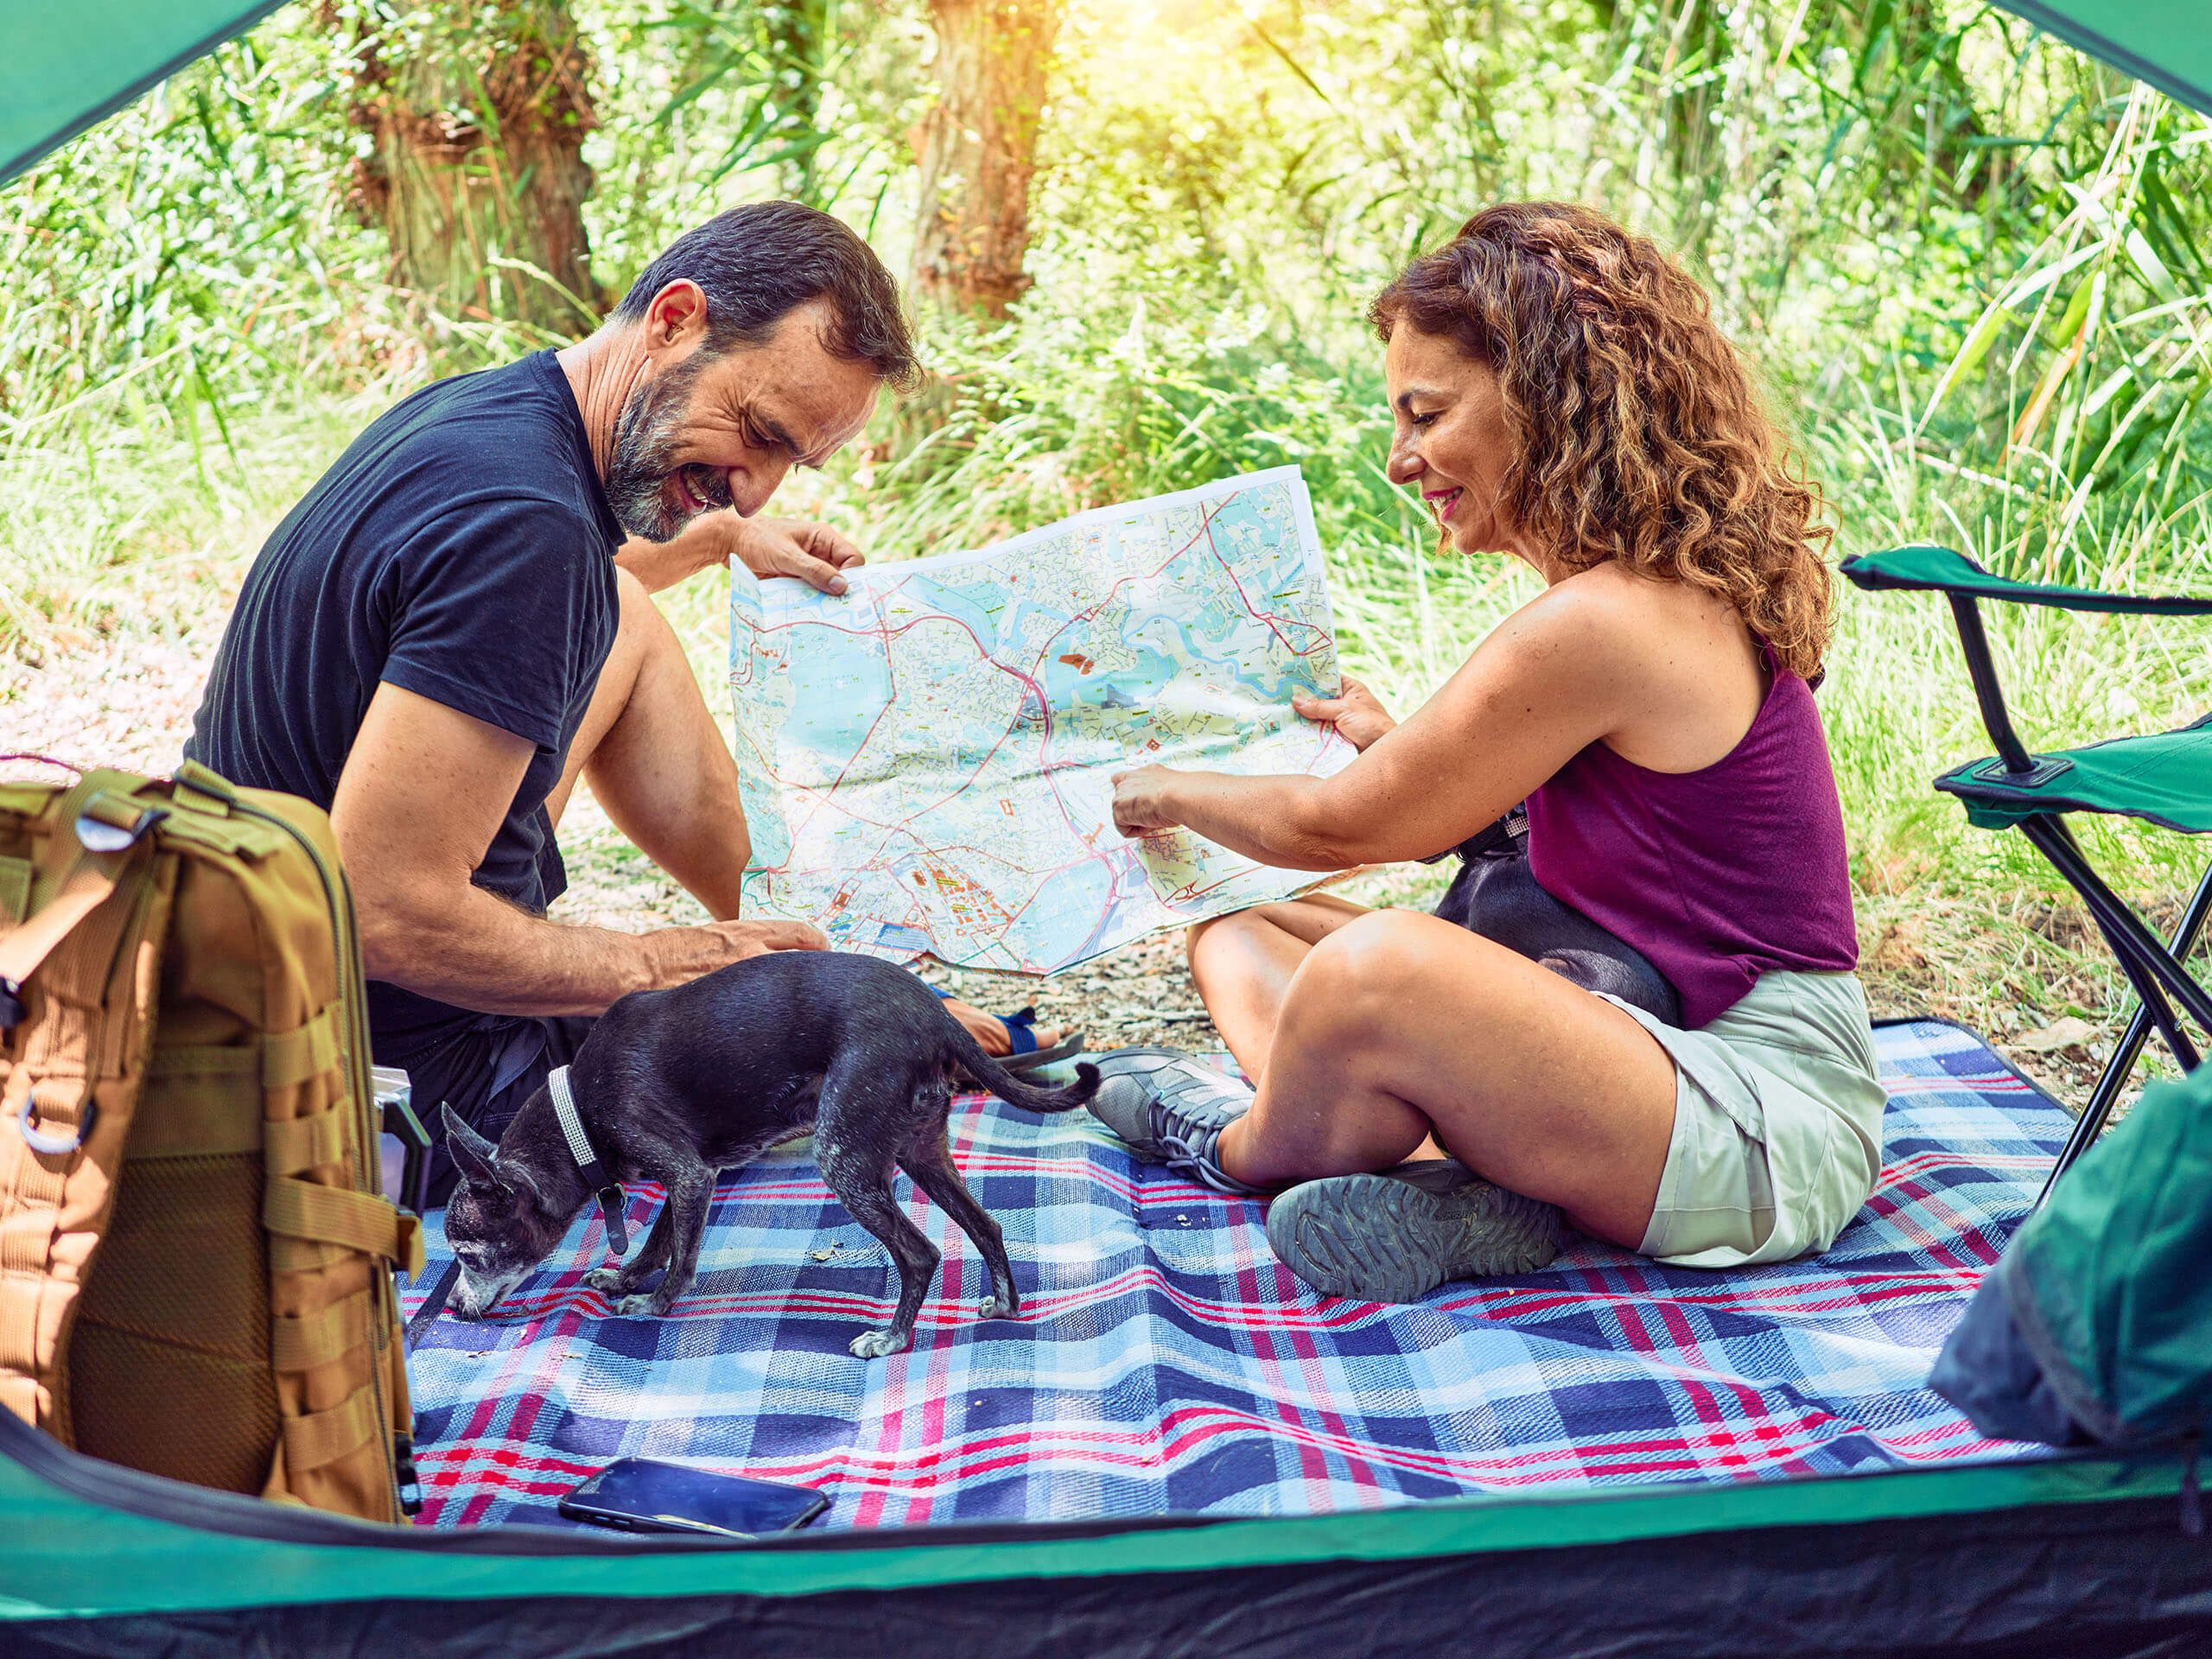
Start downloading your GPS, get a map, and draw out your route when you've booked your campsites. Keep a light, a small notebook with information on important turns and objects used as trail indicators. If you've packed a solar battery charger for your phone, you can also screenshot articles detailing where to go. We suggest using these as an additional aid alongside a GPS!
No matter where you go, Canada, the US, a national park, provincial park, wilderness areas, or anywhere else, check to see if a backcountry permit is required. 9/10, the answer is "you need one."
Lastly, you can find information in most countries from ranger stations, tourism offices, and official National Parks services.

Consider what to pack for a backpacking adventure
What to pack for a backpacking adventure
Did your heart rate just pick up? Yeah, we aren't fans of packing as well. Hopefully, our backpacking checklist will prevent you from pulling your hair and biting your nails. The following list narrows it down to the necessities:
- Backpack
- Tent
- Hiking boots
- Extra shoes for when you're at the campsite
- Sleeping pad
- Sleeping bag
- Food
- Water bottle
- Water filter
- Stove
- Fuel
- Basic eating and cooking supplies
- Moisture-wicking clothing for hiking
- Extra clothing for night
- Merino wool socks
- Hygiene supplies
- Headlamp/flashlight
- First-aid kit
- Food
We can imagine the questions that popped up as you read that list: what cooking gear will I need? What's the best backpack to buy? Where can I buy a compact stove? What's the best food to bring? Don't panic! We've got you covered. Our backpacking checklist article dives into the nitty-gritty details of gear to consider, what to think about when you're buying new items and specific details of what to pack. For example, for cooking gear to pack, we suggest:
- Stove, such as the MSR PocketRocket Deluxe
- Cutlery—consider a titanium spoon over other utensils
- A Swiss army knife can be useful
- Pot, such as the MSR Titan Kettle
- Fuel—consider an 8OZ canister
- Rag to clean your dishes
- Lighters
- Cup or a mug (I personally love anything made by Yeti, but they might be on the heavier side)
- Bowl for your food!
Open a new tab and look at our backpacking checklist article later for what clothes, boots, sleeping gear, tent, backpack, miscellaneous items, non-essentials, food, water, and more details on cooking gear to consider packing and buying!

Don't be afraid to get creative with your meals
Cooking Tips
On one of my first backpacking trips, I bought pre-made, packaged meals from Safeway because I didn't want to attract bears, but the bulkiness of these items prevented me from buying enough food, so we went to bed quite hungry. This idea was okay for an overnight trip, but more meal planning and consideration would benefit a multi-day adventure.
The best go-to for snacks:
- Granola bars (Larabar for the win!)
- Trail mix
- Dried fruit
- Carrots, apples, oranges (if you want fresh veggies and fruit)
- Candy and chocolate as a treat to look forward to
- Pepperoni/beef jerky
Some basic items and ingredients for meals:
- Instant oats
- Peanut butter packets
- Pasta
- Tuna
- Sidekick rice
- Pita bread
- A concoction of spices—backpacking meals don't need to be boring
- Oil
- Tiny packages for condiments (ketchup, mayo, relish, hot sauce, etc.)
Don't be afraid to get creative with your meals! You can create awesome backcountry meals by following some of the recipes listed here—which detail what you need and what to prepare before you go for each meal.
One cooking tip to remember is to plan out each meal with portions before you go. Then, do whatever prep you need to do before hitting the trail. We suggest dividing your meals into ziplock bags to leave space in your backpack.
What about going to the bathroom?
Expect to face the inevitable at some point along your backpacking journey. Pooping in the woods may come with some stigma and scrunched faces, but all backcountry excursions require you to grab that shovel, dig a hole, and squat, and, well, you know the rest. (Sorry for the imagery.) The best way to go about excreting is to always, always carry toilet paper with you. Lock it up in layered zip-lock bags, because ew to wiping with wet toilet paper. Stick sanitizer in your bathroom kit as well!
After pulling your pants back up, grab your lightweight trowel, or use sticks and stones to cover your droppings with dirt.
Some general rules are:
- Poop 61 m from a water source to prevent trinkets (gross word) of your feces from slipping into the stream or lake
- Dig at least 6-8 inches so that your poop goes into organic soil
- Pack your toilet paper into the hole or take it out with you in a separate zip lock bag—this is better for the environment
- Biowipes are better than toilet paper for the environment
- Cover your hole back up with the dirt and leaves you dugout in the first place

Keep your food at least 200 feet away from you when you've settled into your camp
Wildlife safety
Have you ever walked into someone's home, tossed empty food packets on the floor, ran through some bedrooms and messed up the layout? Hopefully not. But you've probably wandered off the designated path, hurting the vegetation, and maybe you've littered or left a doggie bag on the trail. We wouldn't destroy our friend's homes, so why would we do the same to animals? One of the keys to animal safety is ensuring we maintain our symbiotic relationship. The more we litter or leave food tracings, the closer they'll come to us when exploring, potentially causing some damage. Reducing attractants is a must!
The next step when backpacking? Keep your food at least 61 m away from you when you've settled into your camp for the night. Some backcountry campsites might offer food storage lockers as well! Another great tip is to skip out on hiking as the sun rises and while it sets as bears—if backpacking in a country with bears—are most active during these times.
Don't be afraid to yell out once in a while, sing a song, or make noise to let the wildlife know that you're there. It's uncommon for them to approach you, so you might as well do everything you can to keep them in the trees. Lastly, if you're walking where bears roam, carry bear spray with you and learn how to use it before you go! Want to know more? We dive deeper into bear safety here!
How can I stay warm when backpacking?
You might take off layers while hiking in the summer heat, but the cold mountain air can bring on some nighttime shivers. Backcountry weather can be unpredictable, so knowing how to keep warm while backpacking is key.
Tip 1: Don't wear cotton! If it rains, your clothes will become super heavy, and they take in a lot of sweat. Cotton then keeps the wetness, potentially making you colder at night.
Tip 2: Bring rain gear! Buy a lightweight raincoat, rain pants, and a cover for your backpack! You don't want the rain to soak into your gear in your bag.
Tip 3: Bring some extra dry clothes with you for the campsite. You don't want to spend the evening in your sweaty clothes! Then, air out your hiking clothes as you settle in for the evening.
Tip 4: Pack some winter clothes—yes, even in summer. Bring your toque (hat), mittens, a fleece sweater, and even a puffy winter coat that can squish neatly into your backpack.

Stay hydrated
What are ways to stay hydrated?
You can't lessen the weight of water, so how can you hike days in the backcountry without carrying litres and litres of it? And don't even bother trying to reduce your water intake to avoid peeing along the trail or at night. You don't want to experience dehydration or heat stroke in the middle of nowhere!
Official campsites will likely have a water source, but others might not. No matter where you go, you'll want to bring purification tablets/drops or some sort of filtering system. There's also the option to boil water, but this may not be the most time-efficient option if you're walking along the trail feeling parched with a stream in close vicinity. Keep in mind that boiling water also requires the use of extra fuel.
A LifeStraw, although not the most practical option, can be great for when you're feeling thirsty along the trail. Prepare for your knees to get dirty, though!
Water tablets and drops can be good but may not be the most effective. Your water may have a chlorine tinge after using these. But it's good to carry tablets as a backup plan. They don't take up much space, either.
A water filter is great, but it can be fragile. We suggest carrying tablets, a LifeStraw, or another alternative if yours breaks en route. Filers can also be expensive! However, we think they are the most proficient way to clean your water.
I like to filter water via LifeStraw Flex with Gravity Bag. It doesn't take up much space in your bag, and when you take it out, all you need to do is fill the bag, ensure the filter is attached to the tube, hang it on a tree branch, place your water bottle below, and let the water drip through the filter into your bottle. I haven't gotten sick from it so far, either. (Knock on wood.)
Backcountry Safety
Hopefully, this section helps to eliminate the “scary” out of backpacking! Considering backcountry safety is one of the most important things to do before heading out into the woods. It may seem like a lot to think about, but knowing the following will hopefully help create a smoother backpacking experience:
- Care for your feet! Avoid blisters by breaking in your boots beforehand, bring extra socks, pack moleskin, bandaids, etc. Pay attention to your feet (are they too moist, too wet?) and adjust accordingly. Wearing gaiters can help keep your feet dry in wet conditions, whereas rocking shorts in the summer can reel in more air to your feet during hotter days!
- Let friends and family know where you’re going and show them your mapped-out route!
- Invest in a Garmin inReach to send out an SOS in case of an emergency. They can be expensive, but they are so worth it.
- Pack a first aid kit! Our first aid safety checklist goes over what to bring in detail.
- Download the GPS for your route before going!
- Be sure to double-check the weather forecast before going to ensure safe conditions.

Keep your dog on a leash
Trail Etiquette
We'll end this backpacking 101 article with a quick note on trail etiquette! The first question is? Who yields to who? Bikers yield to everyone, and hikers yield to horses! When you pass someone heading in the opposite direction, the group going uphill has the right of way.
The second thing of note: Leave-No-Trace. We can't repeat this point enough! It's essential to remove your waste and even pick up others' trash on your way down. And avoid cutting down trees, carving your name into trees, building your cairns or inukshuks (this can confuse people looking for trail markers), or picking wildflowers. Let's leave the wild, well, wild.
Lastly, please keep your dog on a leash. We've talked about this a lot recently, too! We don't care if your dog is friendly to everyone and every dog. However, other dogs might be anxious, aggressive, or protective of their owners, causing a stir on the trail if your unleashed dog approaches a leashed dog. Plus, leashed dogs interacting with an off-leash dog is never a good idea, as these situations are prone to escalate.
Off-leash dogs can also mess with wildlife and their vegetation. And the most horrible thing of all: if a bear chases an off-leash dog, guess where they will run to? You. Guess what follows the dog? The bear. Do you see our point? Keep your dog on a leash along designated on-leash trails.
We hope this article eases some stress when planning your first backpacking trip. Let us know if you have any questions!
Kelsey Krahn
Apr 19, 2022
Kelsey hated hiking when she was a kid. Her parents would always force her to venture up mountains with them, and she would always complain about how pointless it was to wind along a path to a "stupid view." But now, you can find Kelsey happily weaving to a collage of stunning views cloaking mountains across the globe!
Recent stories
Destinations
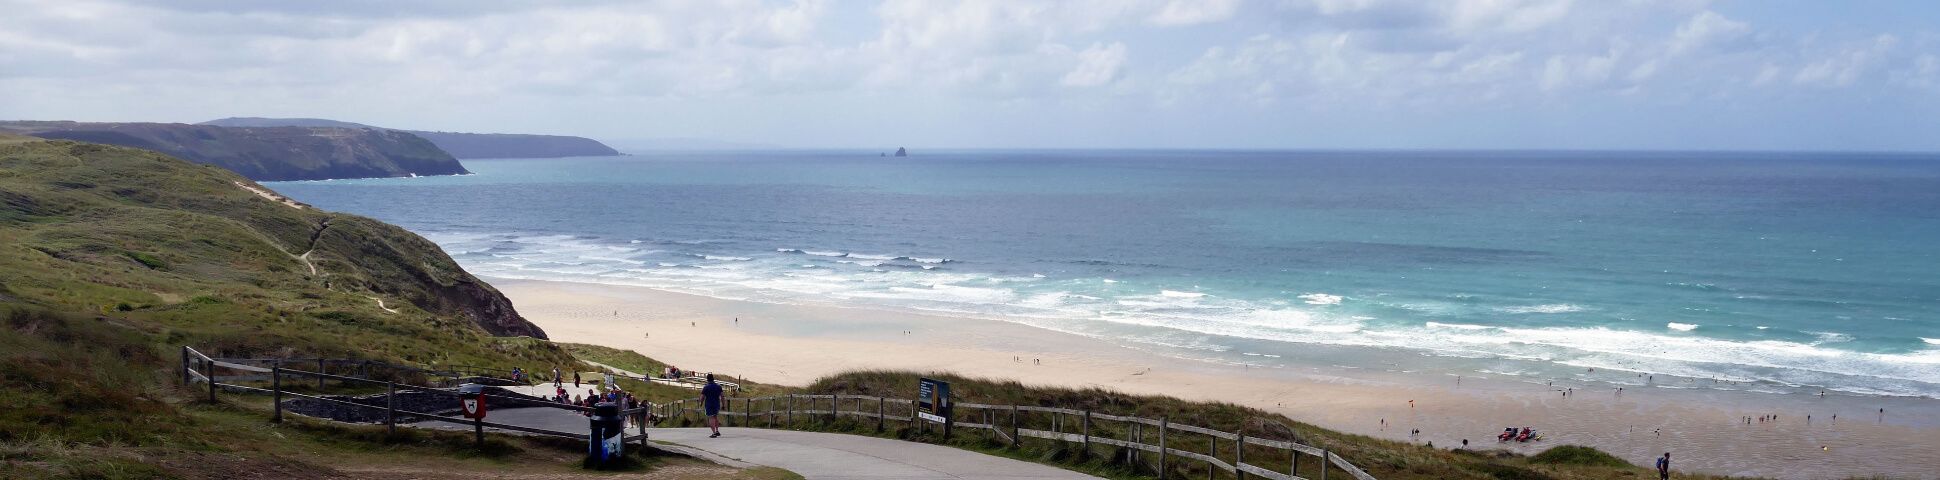
South West Coast Path Guide: Best Sections and Walking Tours for 2026
The South West Coast Path is one of England's great long-distance walking routes.
Nadine Gravis
Jun 16, 2026
Destinations
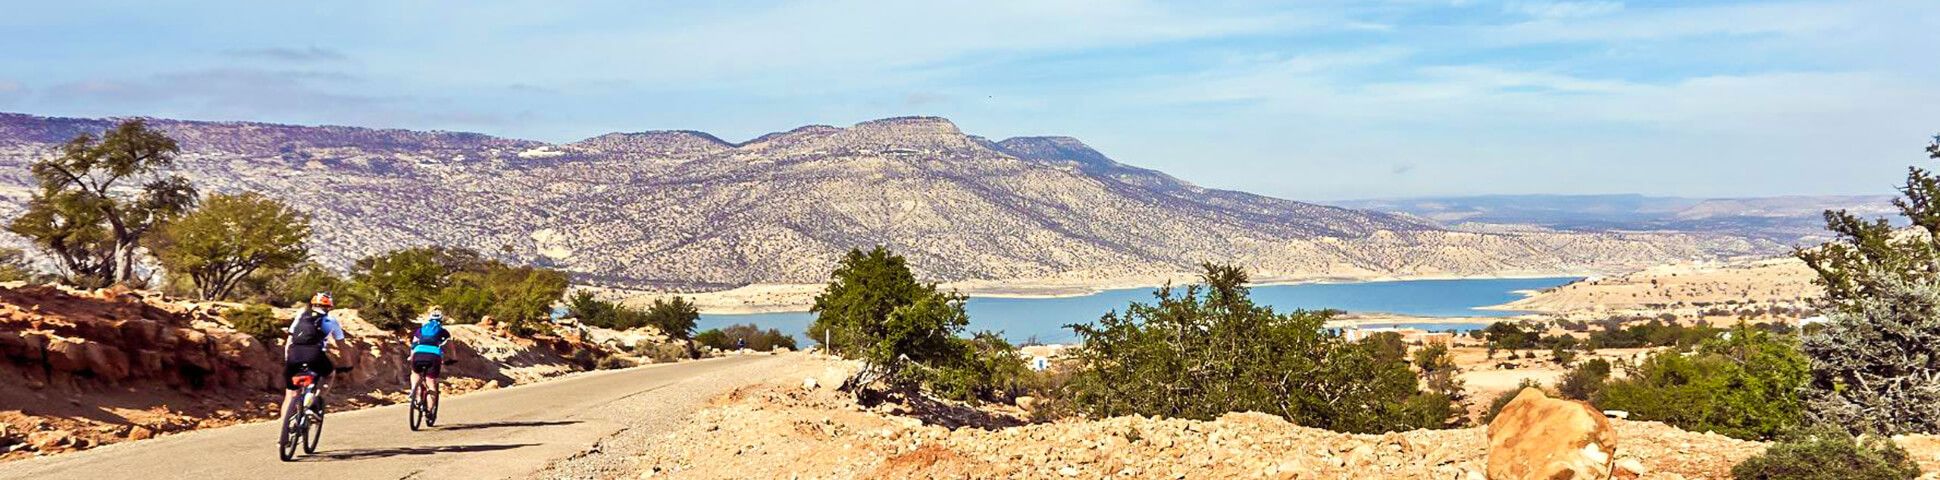
Cycling in Morocco: Best Bike Tours, Regions and Routes for 2026
Cycling in Morocco is one of the most exciting ways to experience North Africa by bike.
Richard Campbell
Jun 16, 2026

Trip guides
An Extensive Travel Guide to Switzerland for 2026
Let our travel tips for your Switzerland adventure guide you exactly where you want to be in 2026.
Kelsey Krahn
Jun 15, 2026